Step 1
Within the Planning section
> Click on 'Event management' then 'Guest Groups'
Step 2
> Click on 'Create New Group' in the top right corner
Step 3
> Complete the group information and any mandatory fields
> Click 'Create Guest Group' once completed
You have successfully created a 'Guest Group' which is ready for Guest to be added!
Video Guide
Creating Guest Profile Groups (with screenshots)
Event Management -> Guest Groups
Select 'Create New Group'

You will be presented with the following screen:
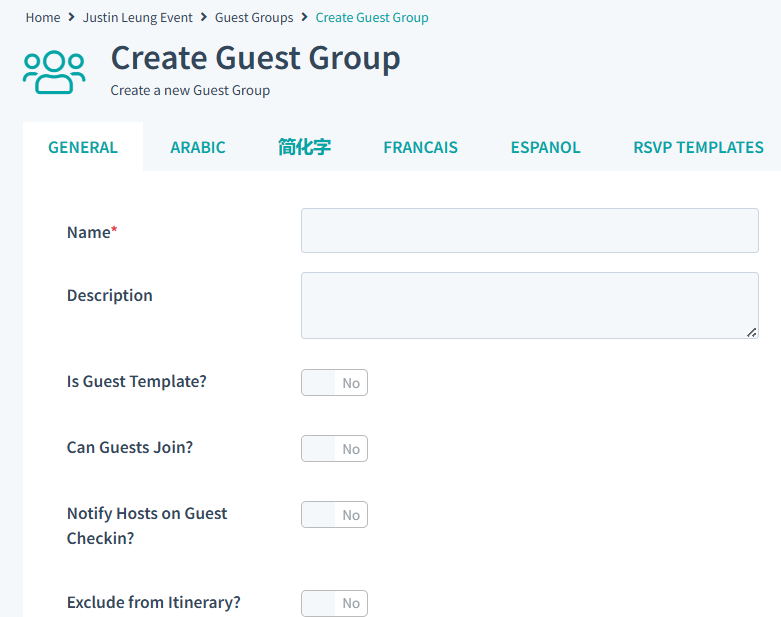
Give the Guest Group a name and description and click the "Create Guest Group" button.
You can always go back and add further information to guest groups if needed.
Guest Template
Enabling the “Is Guest Template?” checkbox creates a Guest Group with its own unique code and QR code—similar to an individual guest profile.
This feature is useful for creating a generic guest profile that multiple guests can use to access the same event information. Instead of setting up activities for each guest individually, you can configure one template with all the relevant details.
When a guest scans or uses the unique/QR code, they are added as a new guest in the guest table under the name [Guest Group Name] Guest, with their email displayed underneath. This ensures you can still communicate directly with each guest.
Note:
When using a Guest Template, the Guest Group name will appear in the app wherever a guest’s name would normally display. Choose a name that makes sense in this context.
Was this article helpful?
That’s Great!
Thank you for your feedback
Sorry! We couldn't be helpful
Thank you for your feedback
Feedback sent
We appreciate your effort and will try to fix the article