Event Configuration > Event Brands > Actions (On desired brand) > Change Theme > App Builder > Widgets
Widgets will show on the main screen of your Guestia app. The article below will have an overview of some common widgets.
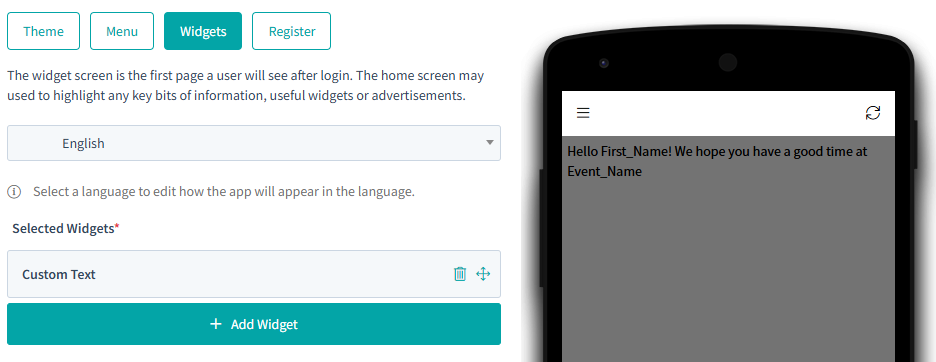
Adding new widgets is done by click '+ Add Widget' which causes a pop-up with all widgets to appear.
Custom Text
Once added Custom Text will show under 'Selected Widgets'

Clicking on the text 'Custom Text' will allow you to edit the content of the text, as well as some tokens to personalise the text to the reader.
- The large text box is the custom text that will be shown on the app.
- The small text box with 'Custom Text' in it can be edited to change the display name of the custom text in Selected Widgets. This can be useful for differentiating multiple Custom Text widgets for editing.

After the message has been created/edited the green tick can be clicked to save it, or the red cross to discard the changes.
Custom Image
Once added Custom Image will show under 'Selected Widgets'
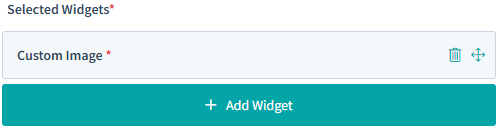
Clicking on the text 'Custom Image' will allow you to change what image is displayed, as well as a 'Navigation Type' field. You can also change the display name of the Custom Image under Selected Widgets by editing the small text box.

Clicking on 'Upload an Image' will open your file explorer, so that you can select an image to upload.
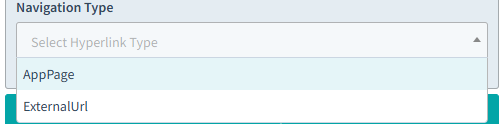
Navigation Type can be used if you would like the image to be hyperlinked. The image can link either to a custom URL/website or another page within the Guestia app.
After the image has been uploaded the green tick can be clicked to save it, or the red cross to discard the changes.
Was this article helpful?
That’s Great!
Thank you for your feedback
Sorry! We couldn't be helpful
Thank you for your feedback
Feedback sent
We appreciate your effort and will try to fix the article